Deployment of AO Platform on MicroK8s
Intended audience: ADMINISTRATORS IT/SECURITY/DEVOPS
AO Platform: 4.3
Overview
This topic provides step-by-step instructions on deploying the AO Platform software stack in a MicroK8s environment. This is the fastest way to get up and running as a solution developer using the full AO Platform stack on a local workstation, or a small team server.
What is MicroK8s?
MicroK8s is a small-footprint Kubernetes environment from Canonical, the publisher of the Ubuntu Operating System. MicroK8s allows the full AO Platform stack with all dependencies to run as a single instance deployment on most workstation environments.
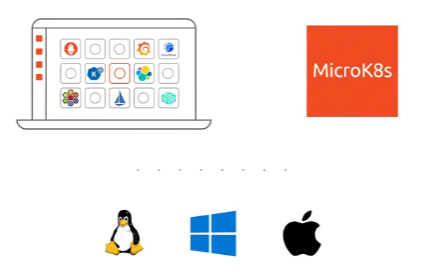
Introduction to MicroK8s: https://microk8s.io/
System Requirements and Prerequisites
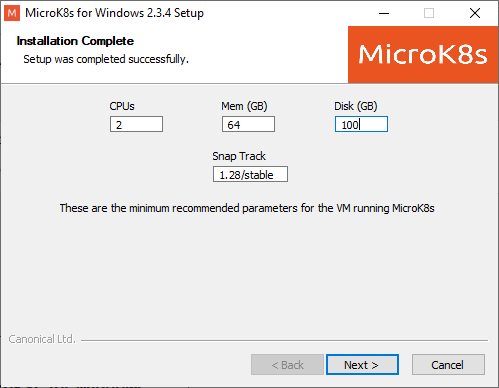
64Gb RAM dedicated to the MicroK8s and AO Platform deployment.
2 cores.
100Gb disk space
MicroK8s installed on a supported OS - see MicroK8s - Get started | MicroK8s and MicroK8s - Alternative install methods for MicroK8s | MicroK8s.
Understanding of general Linux commands and Kubernetes infrastructure and commands, such as kubectl.
Video
This video shows the installation steps for the complete AO Platform stack and all dependencies being installed on a MicroK8s environment on a Ubuntu 22.04 OS. For full details, see the Step-by-Step Deployment section below.
The video shows a 30 min installation in about 5 minutes. Longer running segments of the installation have been cut out to avoid the wait time.
Step-by-Step Deployment
The full end-2-end installation of MicroK8s and the AO Platform stack is divided into 4 key steps:
Download and install MicroK8s.
Install required software and enable required addons on MicroK8s VM.
AO Platform Helm Chart deployment process.
Access the ao-platform UI in a Browser.
The following deployment steps assumes MicroK8s is installed as a Virtual Machine, using Multipass, on a Windows 10/11 Operating System. If MicroK8s is installed natively on a Ubuntu system, the “multipass” commands in the sections below can be ignored.
Download and Install MicroK8s
Install MicroK8s using Multipass virtual machine > https://microk8s.io/docs/install-multipass
If installing on Windows or MacOS, use the specific Multipass installation instructions here > https://multipass.run/install
MicroK8s can be installed in several different ways. See these instructions for all options > https://microk8s.io/docs/install-alternatives
With MicroK8s installed, please configure MicroK8s to run large workloads. Configure the CPU, Mem, and Disk with these minimum values as per System Requirements.
When MicroK8s installation process is complete, validate by running the following commands:
Check MicroK8s VM is running using either command prompt (CMD) or PowerShell:
- CODE
multipass list 
login to Microk8s VM.
- CODE
multipass shell microk8s-vm 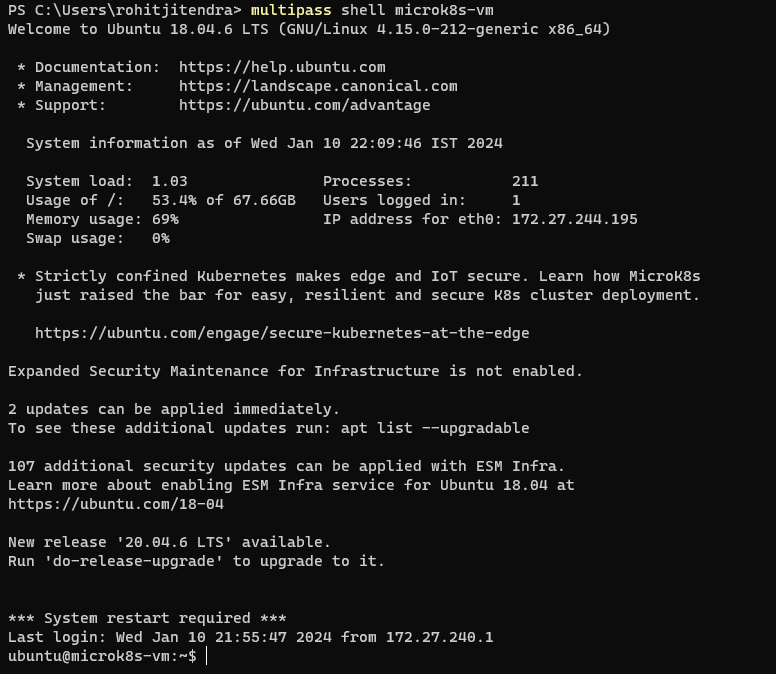
Now follow the remaining steps below to complete the deployment.
Installing required software and enabling required addons on MicroK8s VM
After the MicroK8s VM is created, you need to install the required prerequisites for smooth Kubernetes or Helm Chart deployment.
Run this command in MicroK8s/Ubuntu VM. The file mk8s-prerequisite.sh will be downloaded.
- CODE
wget https://aop-devops-automation.s3.amazonaws.com/kubernetes/scripts/mk8s-prerequisite.sh 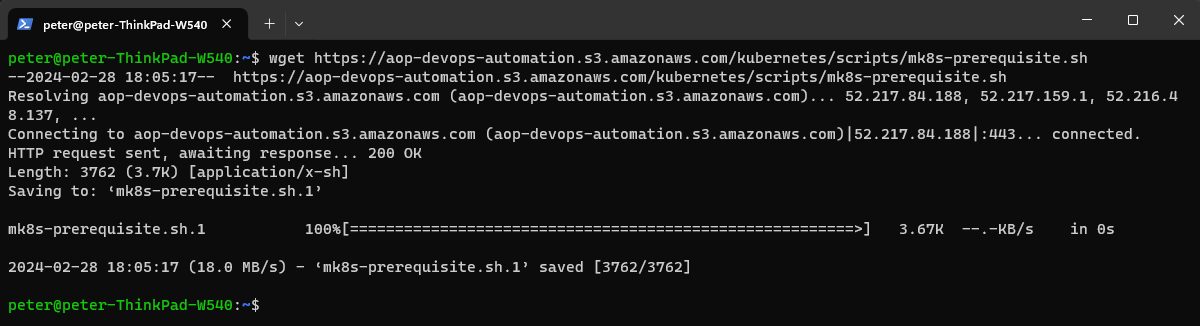
After downloading the file, execute the file as shown below.
- CODE
bash mk8s-prerequisite.sh 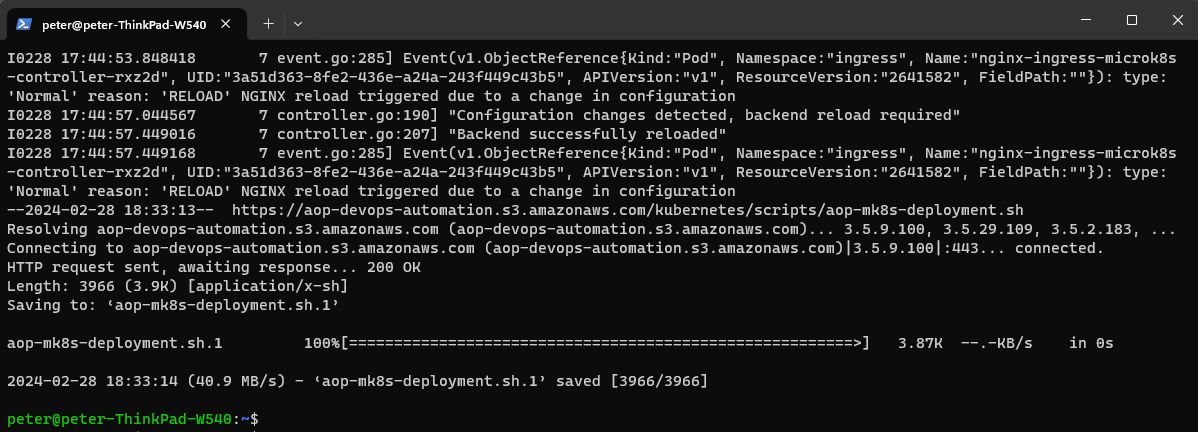
Finally, close and reopen the CMD or PowerShell for the changes to reflect.
Deploying the AO Platform Helm Charts
Re-login to MicroK8s/Ubuntu VM,
- CODE
multipass shell microk8s-vm
Then execute the AO Platform deployment script.
- CODE
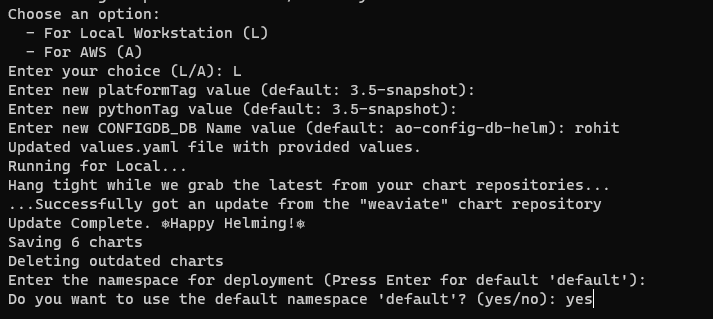
bash aop-mk8s-deployment.sh 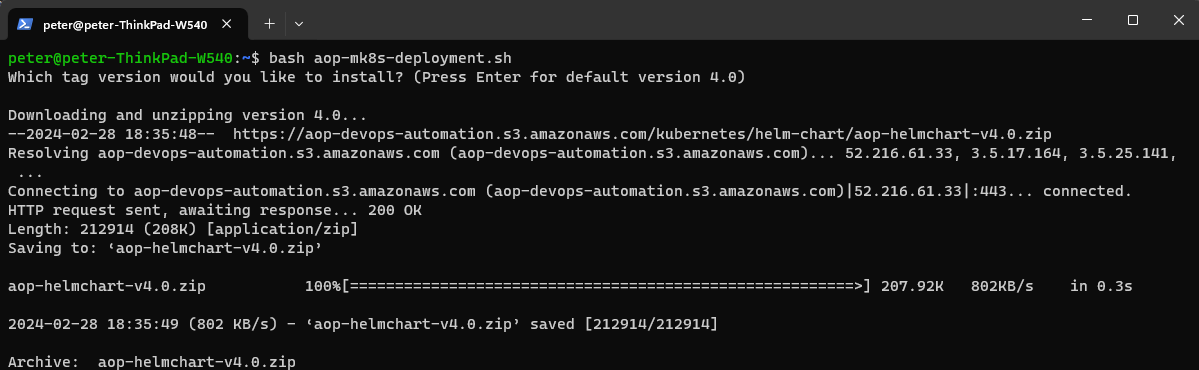
After the last script has been completed, check the status of the Pods:
- CODE
microk8s kubectl get pods -n ao-platform 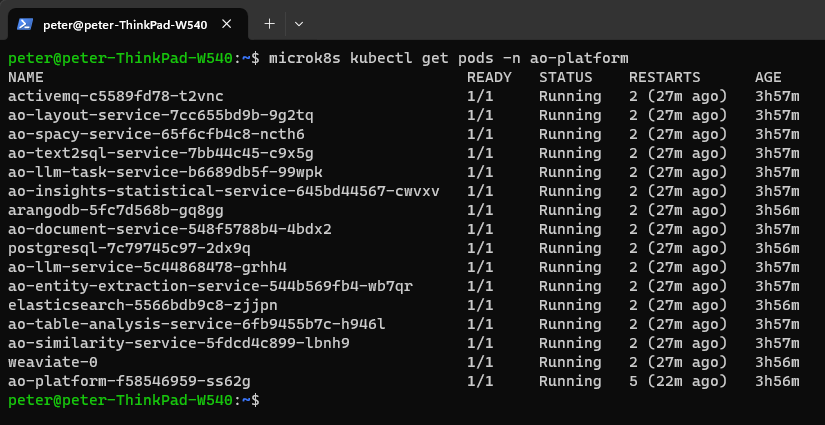
Accessing the AO Platform UI in a Browser
To access the UI we need to map the IP address of The MicroK8s/Ubuntu VM to the hostname/domain name in the hosts file on the Windows machine.
Please check the IP address of your MicroK8s/Ubuntu VM by running:
- CODE
ifconfig 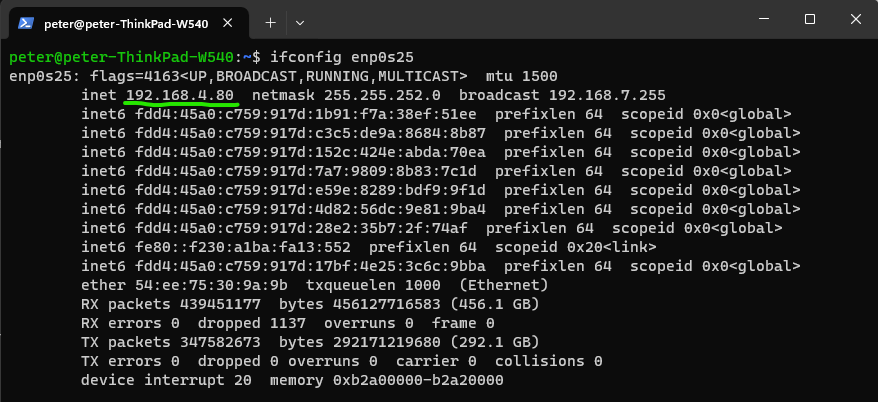
Follow below commands to add an entry to the etc\hosts file on the Windows machine.
Open C:\Windows\System32\drivers\etc\hosts
Open the hosts file in your text editor as Administrator.
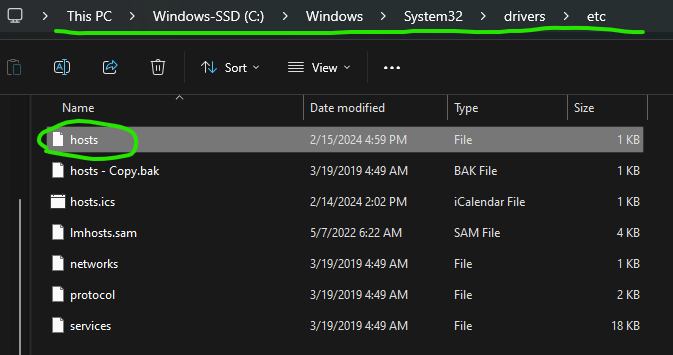
Add the IP address and Hostname values, then save the file. The Hostname must be ao-platform.

Now access the AO Platform UI in a Browser using the following URL:
- CODE
http://ao-platform:30808
…and Sign in with default admin credentials:
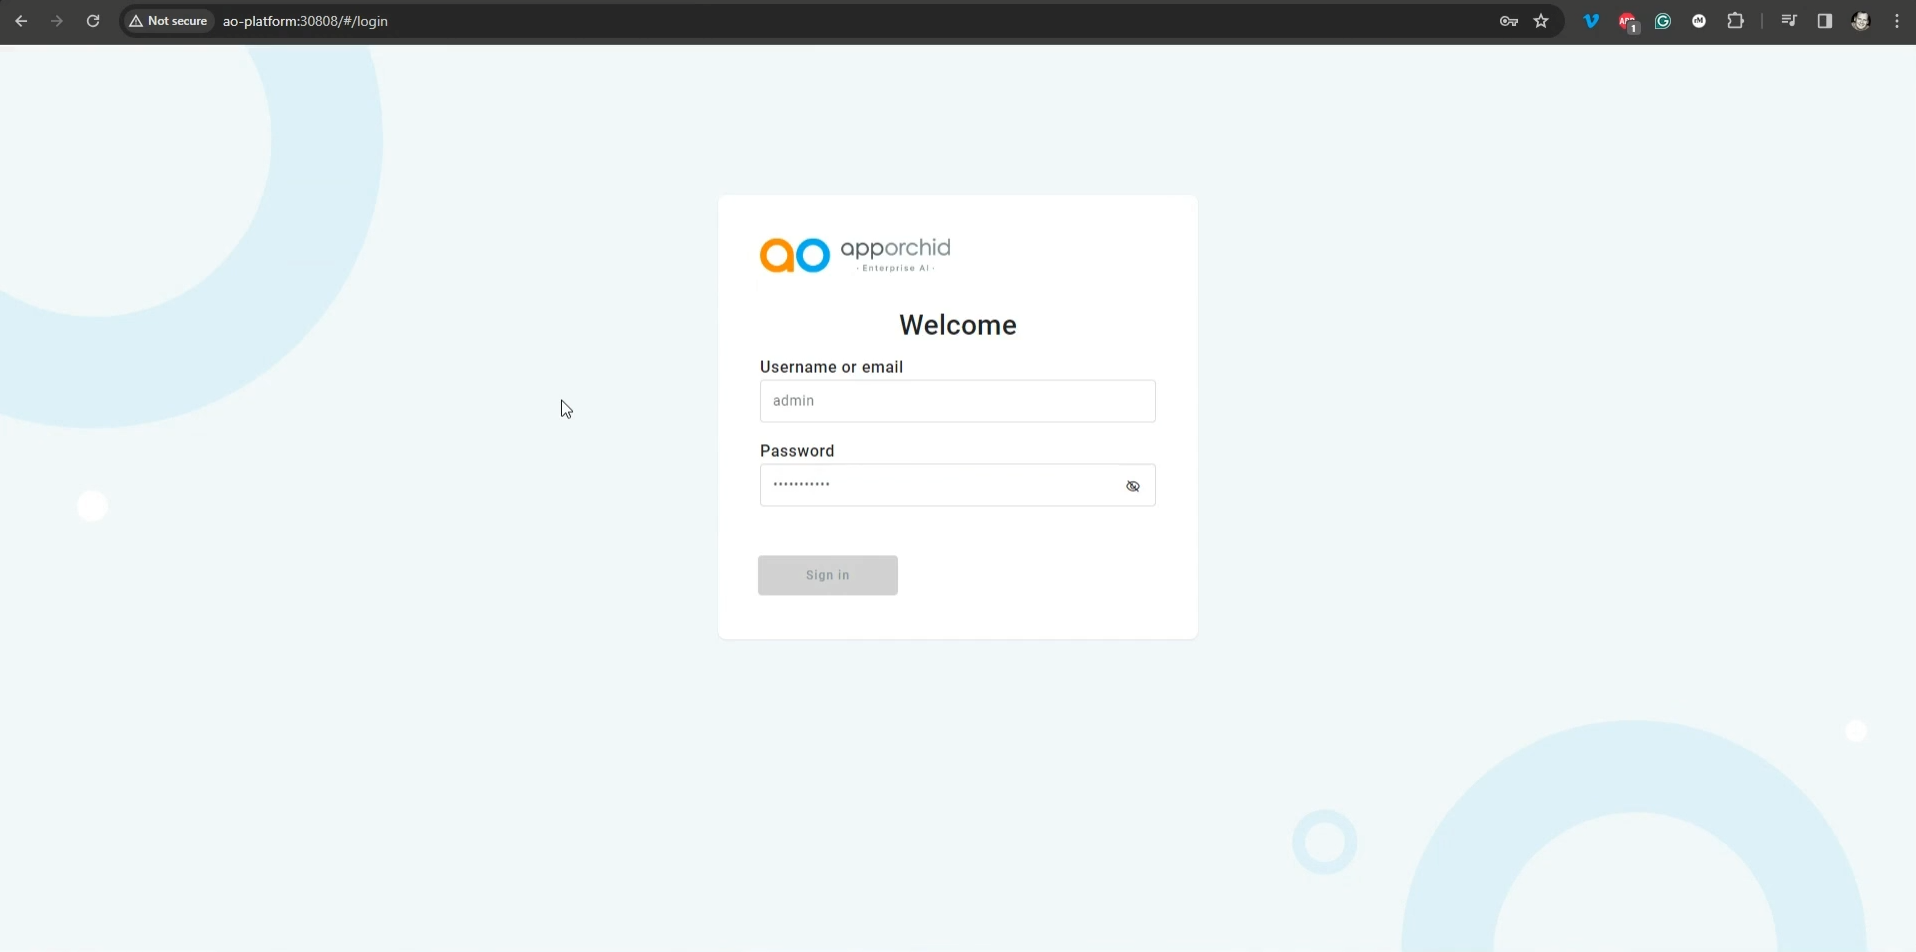
The AO Platform software stack is now fully deployed!