
Intended audience: developers administrators
AO Platform: 5.0
Selecting
The first step in a transfer is to select the component(s) that is/are to be transferred to a different environment. This step is identified by the Transport icon 
Here are some key objects that can be added to transport:
-
Ontology - configuration of individual Ontologies, including optional dependencies.
-
MSO - configuration of individual MSOs.
-
Pipeline - configuration of individual Pipelines.
-
Solution - configuration of individual Solutions.
-
Apps - configuration of individual Applications.
-
Admin - configuration of individual master data records.
-
Easy Answers - all Questions in cache.
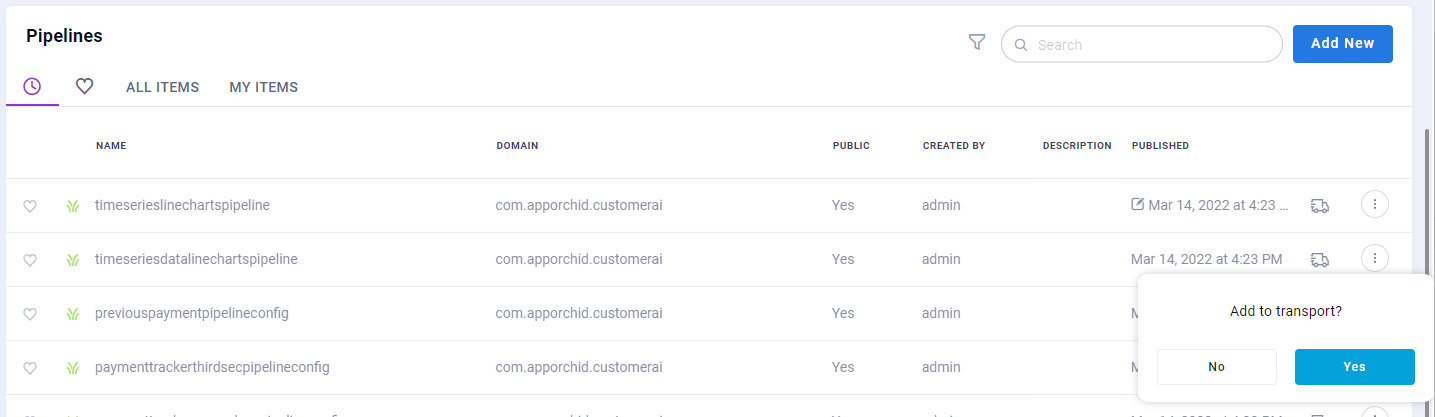
Example: adding a Pipeline to Transport
Downloading
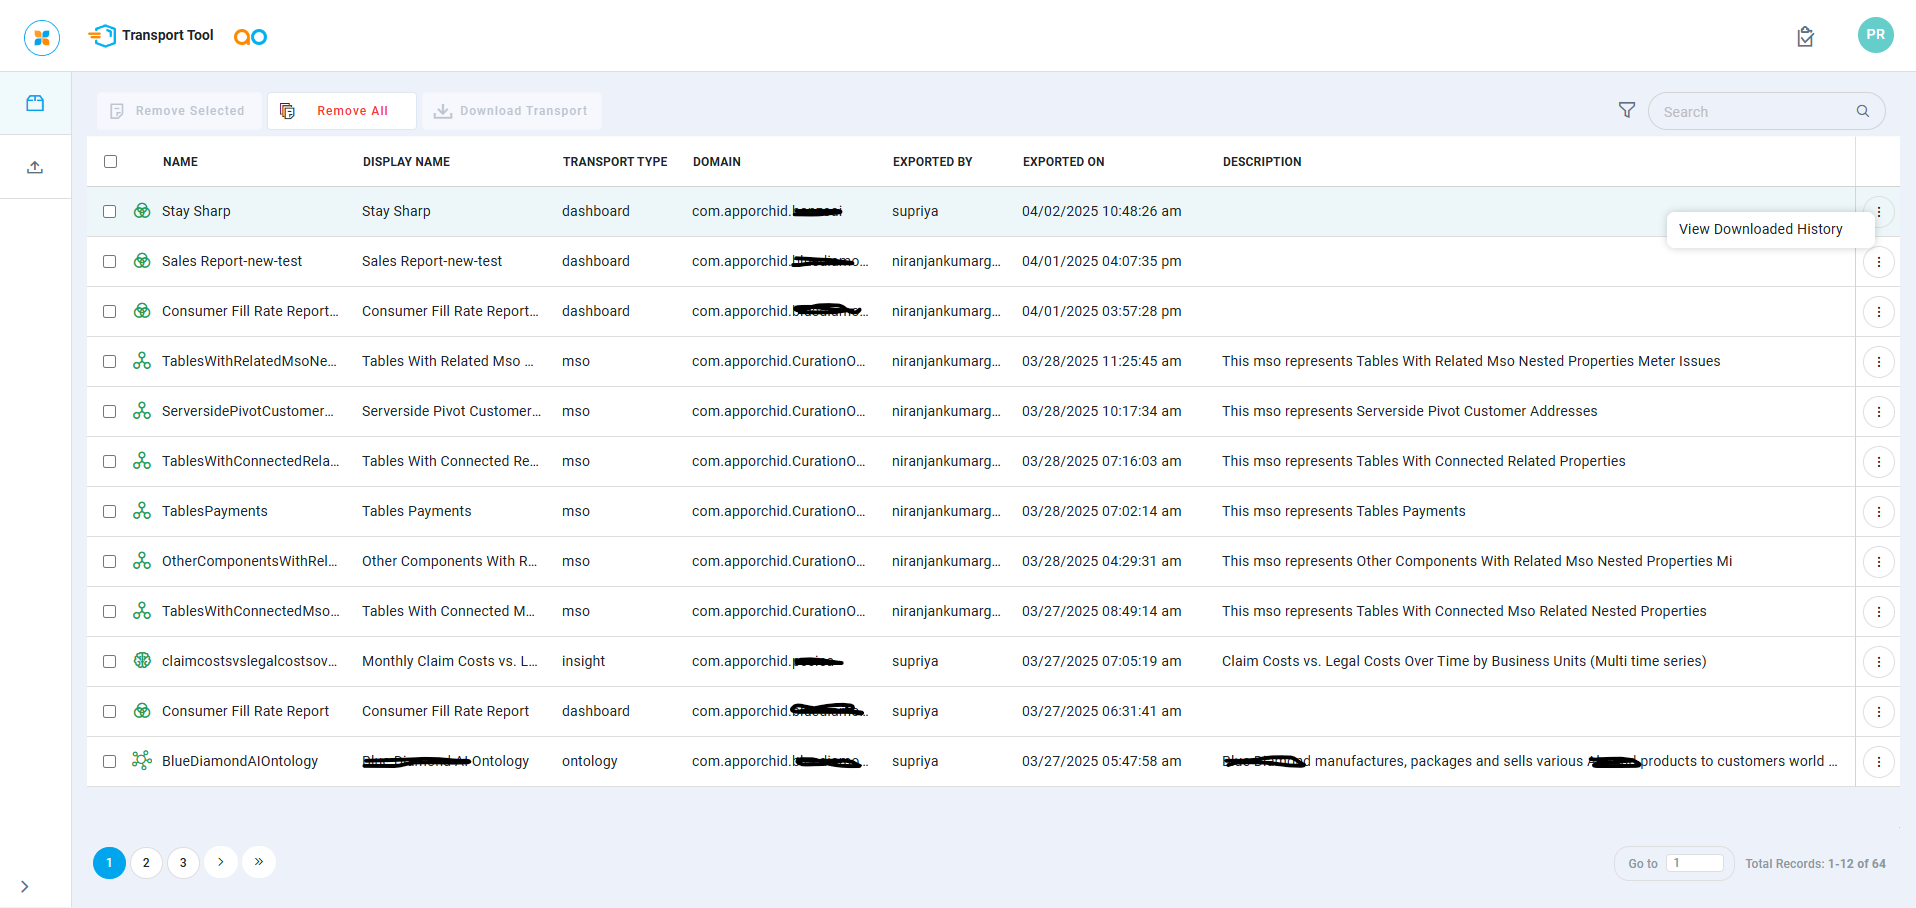
Once one or more components have been selected for transport, they will show up in the Transport Tool.
By selecting which components are to be downloaded, simply click the Download Transport button to create a .zip file containing the selected components.
You can also Remove Selected or Remove All items that are on the Transport Details list.
Finally, make the downloaded .zip file available to the recipient environment.
Options Menu
-
View Downloaded History - opens a dialog with a list of the Transport package having been downloaded.
-
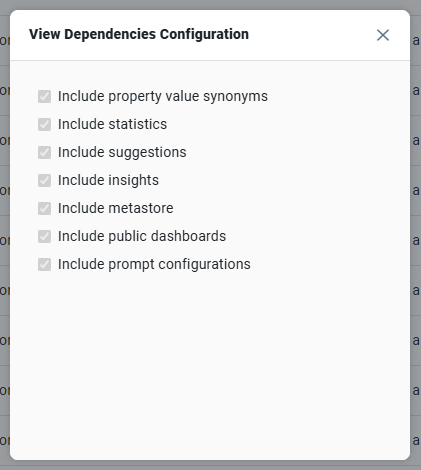
View Configuration - this option is only available for some more complex Transport packages. It opens a dialog showing which dependencies have been included. Here’s an example from an Ontology Transport.
Video
Contact App Orchid | Disclaimer