Intended audience: end-users developers
AO Platform: 4.4
Overview
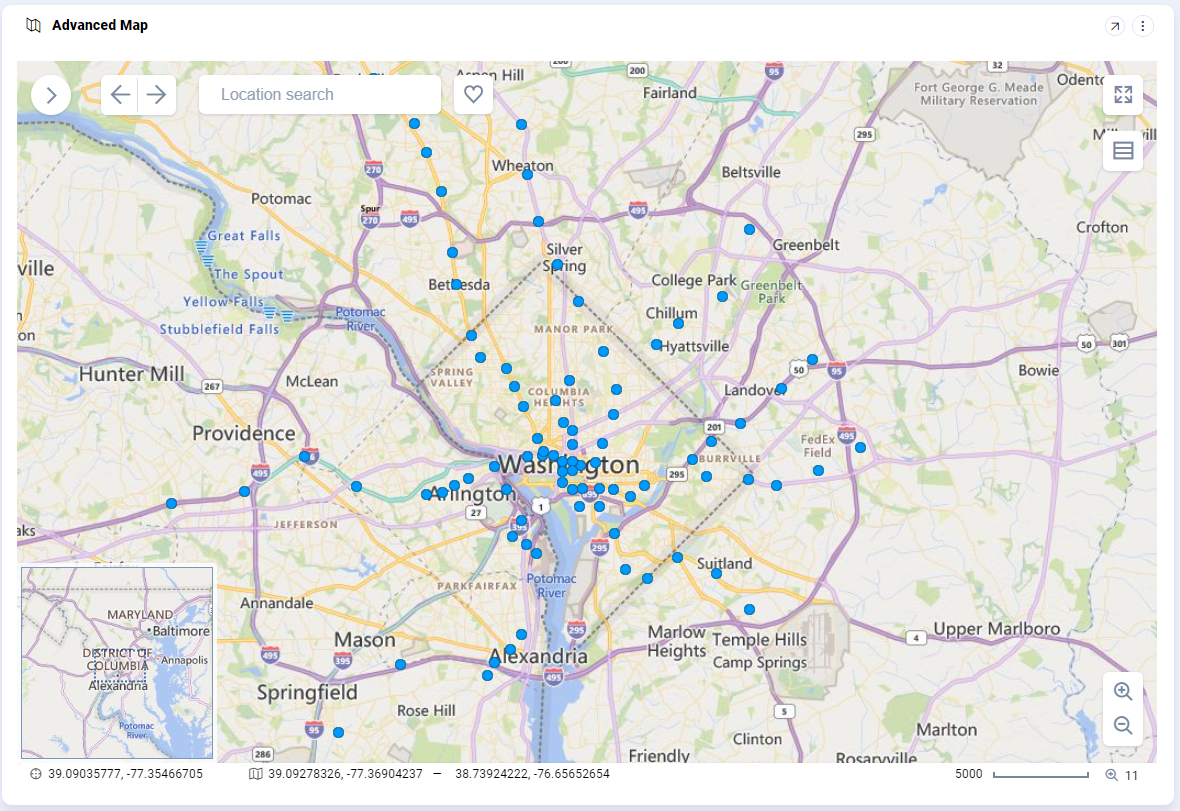
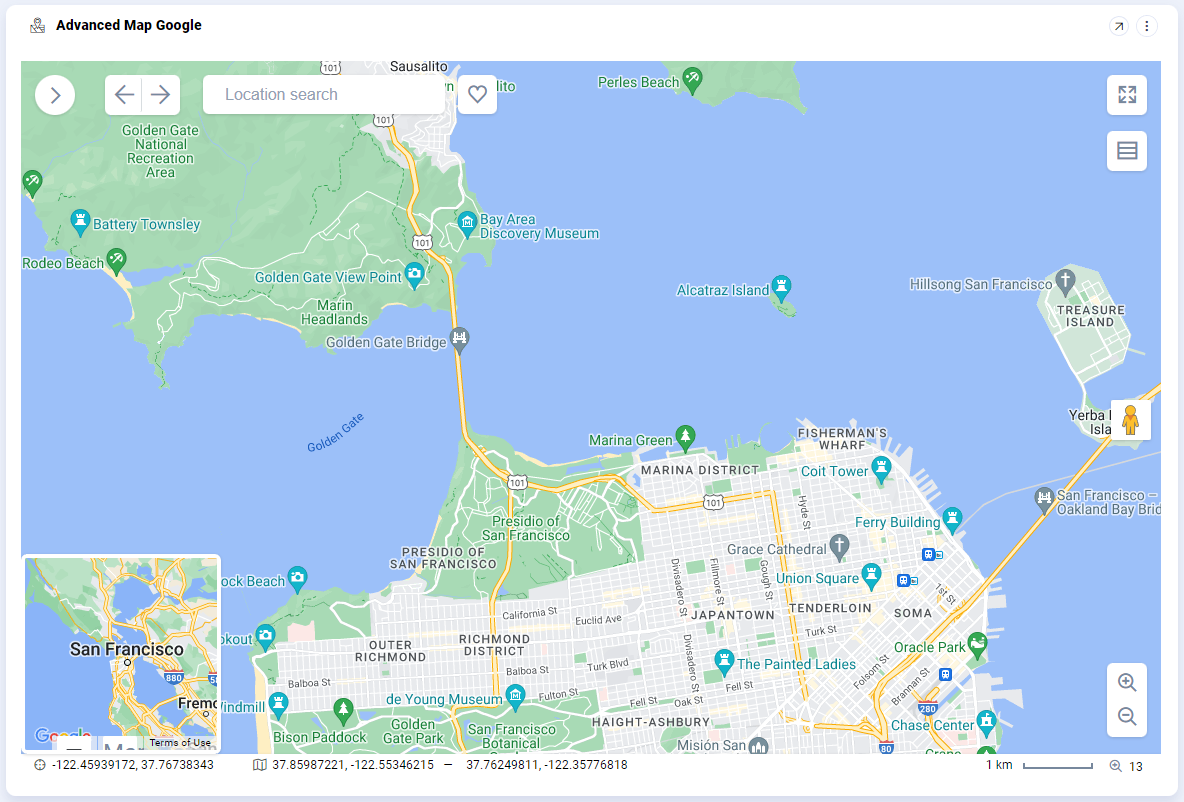
The Advanced Map component has many different features and tools available to the user. This topic describes all options.
Features and Tools
Sidebar
-
Show/Hide Sidebar - this Sidebar has five tabs identified by icons.

-
The right-side edge of the Sidebar can be resized horizontally in case content on any of the tabs is too wide to show. The tabs include the following content:
-
|
Layers tab |
Legend tab |
Feature Info tab |
Favorites tab |
Selections tab |
|---|---|---|---|---|
|
|
|
|
|
-
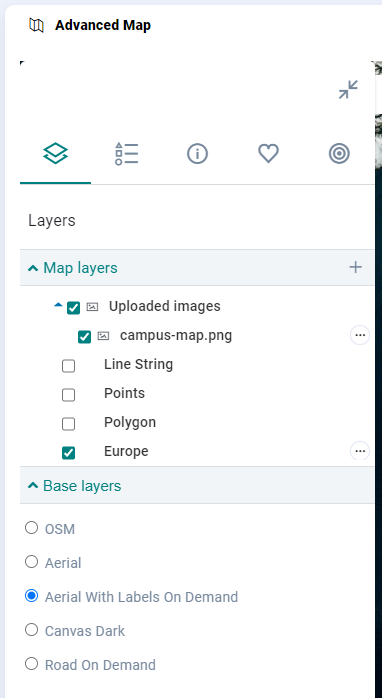
Layers tab - this tab has two sections:
-
Map Layers - a configurable list of Map Layers which can be grouped for improved organization. Groups and Map Layers are generally predefined for an Application.
-
User actions include:
-
Enable/disable a Map Layer - click the checkbox to enable thereby making the Map Features of that Layer visible on the Map.
-
Add Features File - click the “+” icon in section Title. User provided Map Feature Files are not persisted and therefore only available while the Page containing the Map Application is in use. Supported file types for Map Feature Files are: Shape files (.shp) and GeoJSON (.geojson).
-
Refresh a Map Layer - click the “more” icon for the Map Layer and select Refresh. This will reload the Map Features from its data source.
-
Add Feature - Map Layers from database data sources allow new map features and associated attributes to be added. Click the “more” icon for the Map Layer and select Add Feature (if available).
-
Move a Map Layer - drag & drop a Map Layer to a new position in the Map Layers section. This will change both the ordering of the Map Layers tree and the ordering of the Map Layers on the Map itself. The first Map Layer is loaded on the Map at the bottom, the last Map Layer is loaded on the Map at the top Layer.
-
-
-
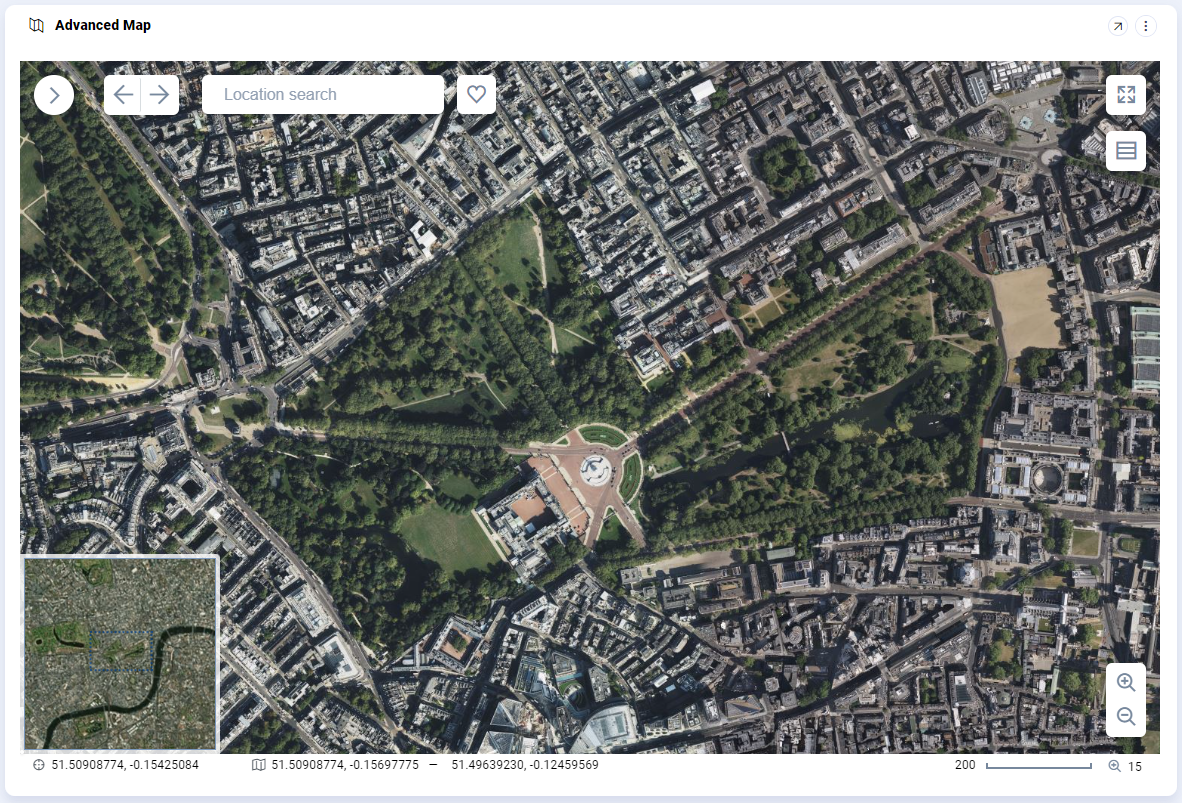
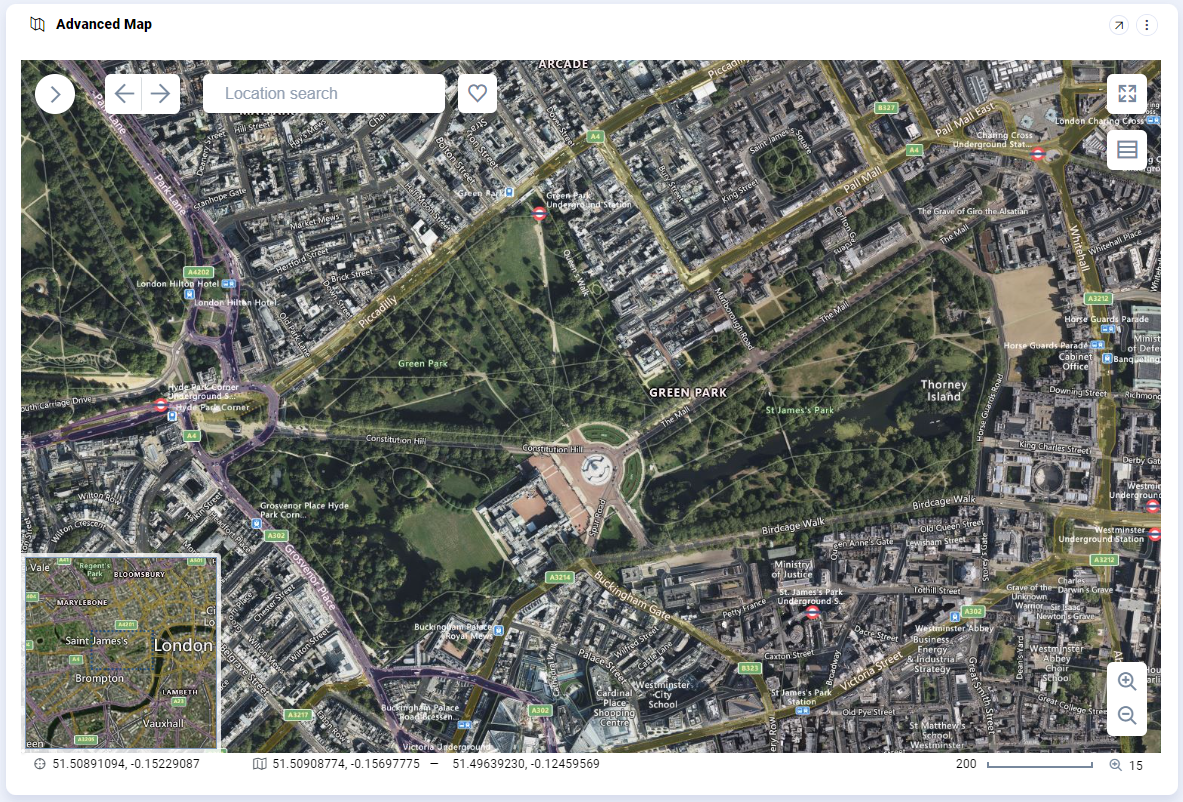
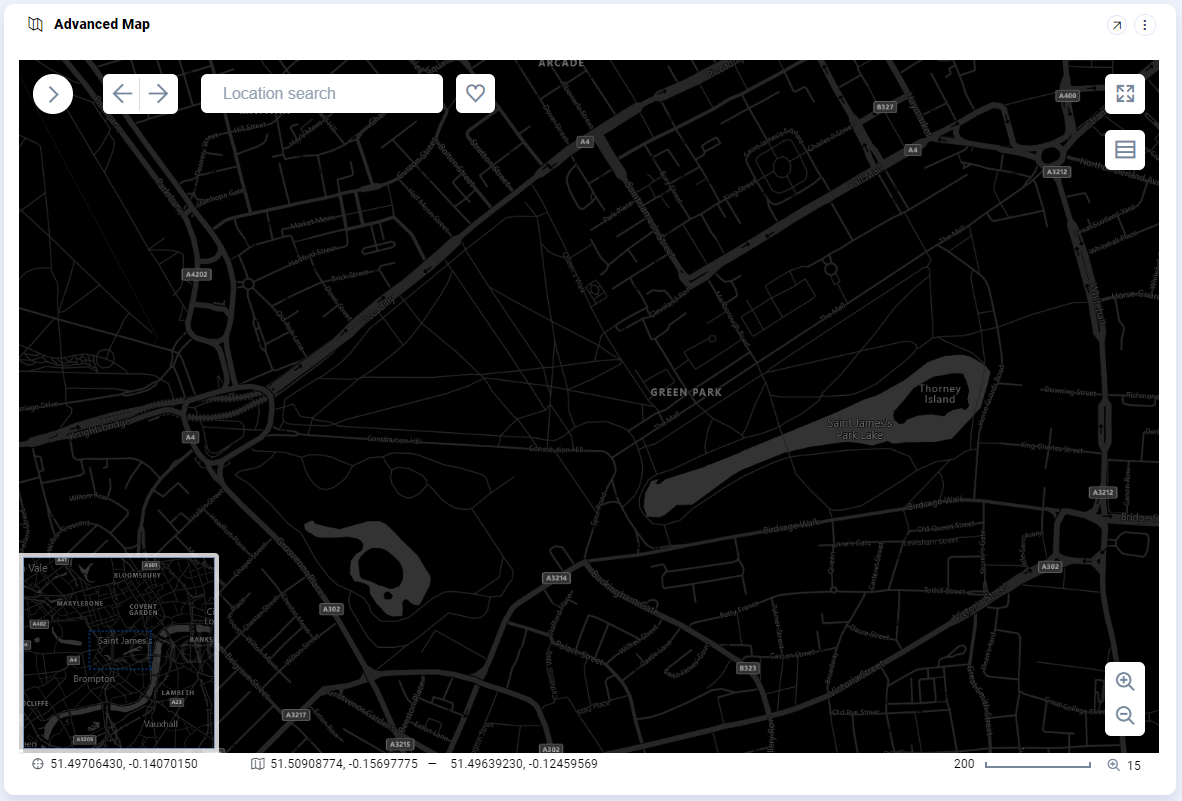
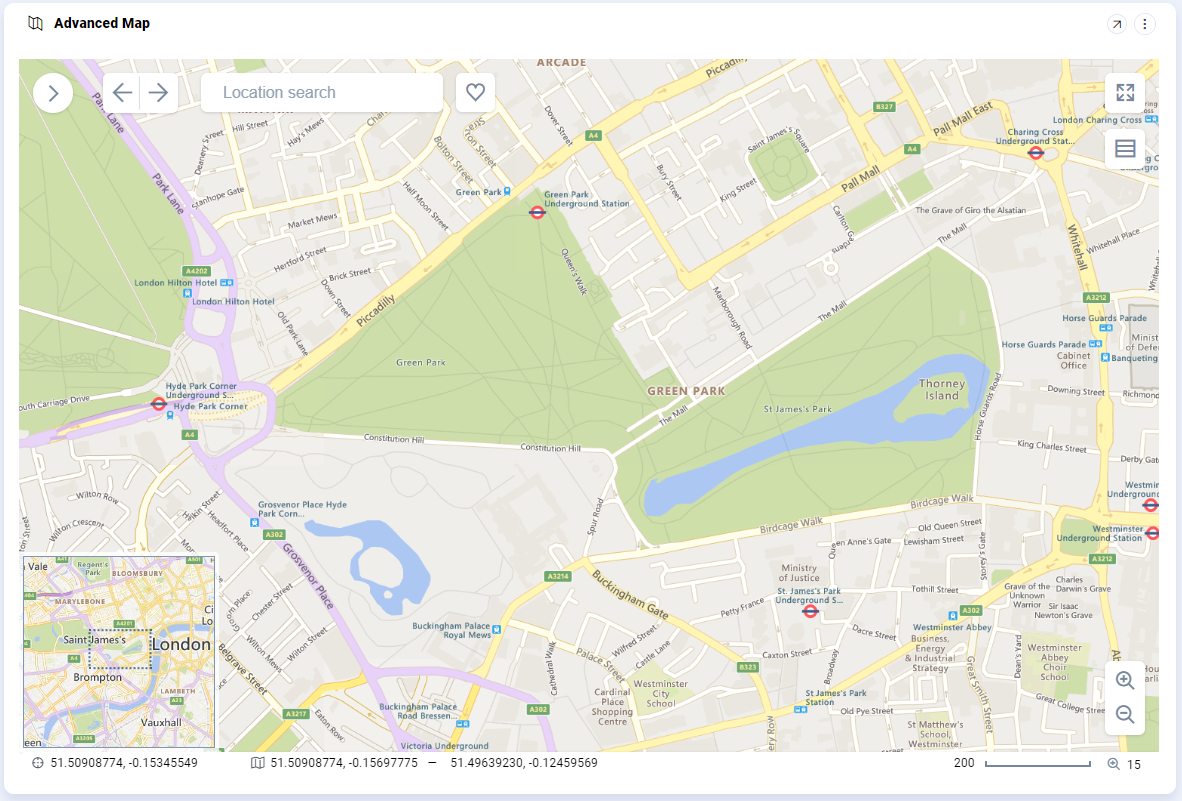
Base Layers - a Base Layer provides context (background) for the Map Layers. Public map services, such as Google Map, Bing Maps, Esri ArcGIS Online, and Open Street Map, can be used as Base Layers, but please note that most public map services require a subscription to be used if deployed solution is specific to an organization and used in a commercial context, ie not free for public consumption.
-
Default Base Layers when using Advanced Map with OpenLayers API
|
Open Street Map (OSM) |
Aerial |
Aerial with Labels On Demand |
Canvas Dark |
Road On Demand |
|---|---|---|---|---|
|
|
|
|
|
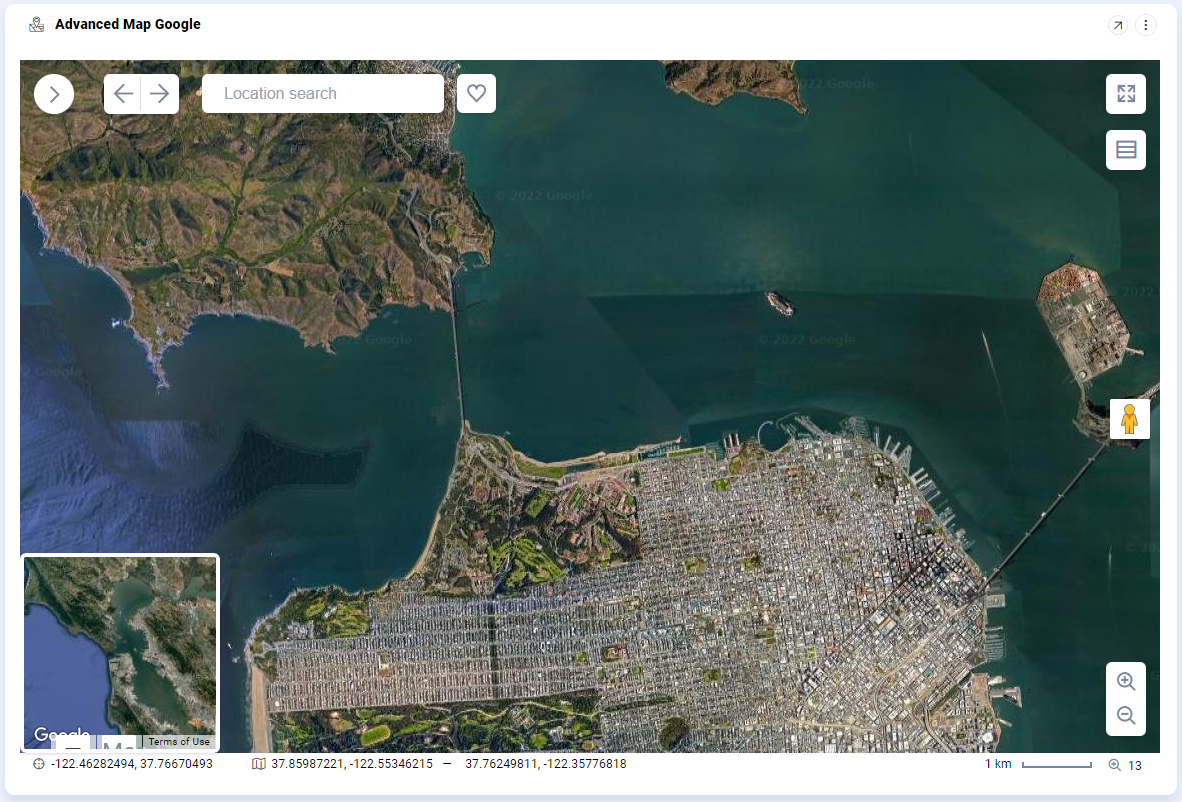
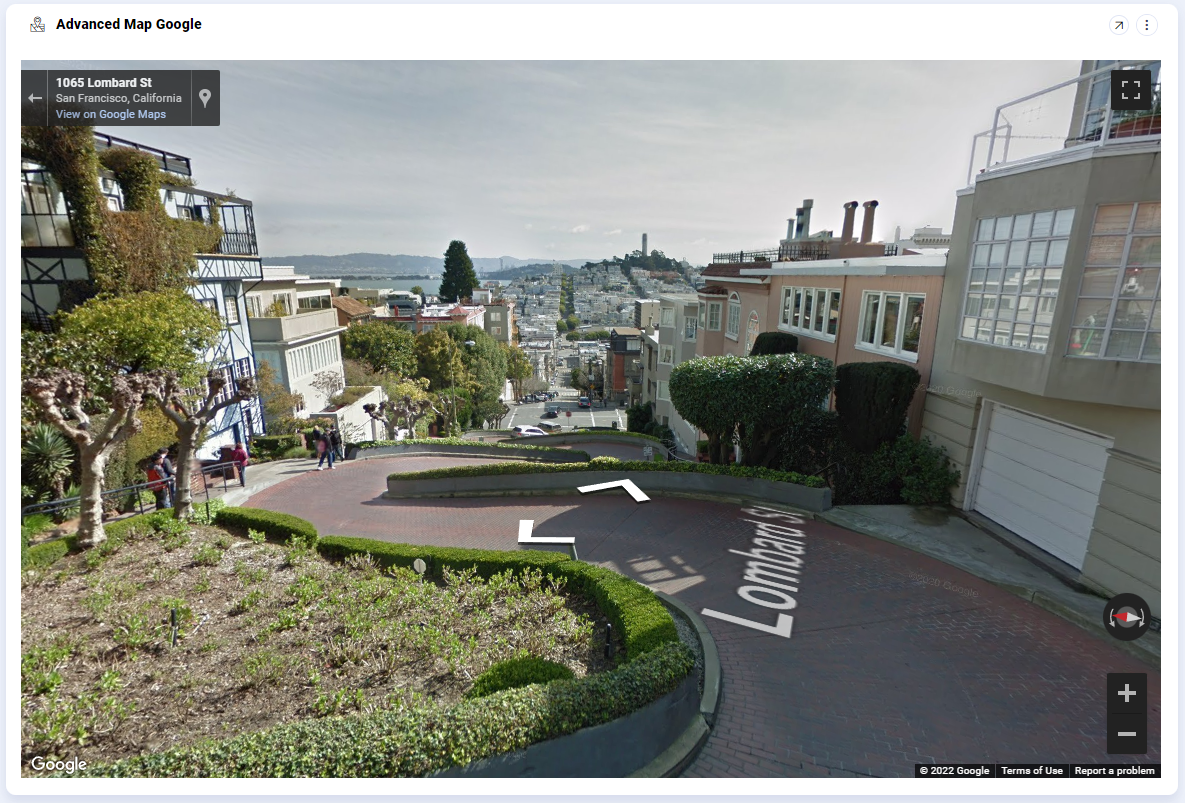
Default Base Layers when using Advanced Map with Google Maps API
|
Terrain |
Satellite |
Road Map |
Street View |
|---|---|---|---|

|
|
|
|
-
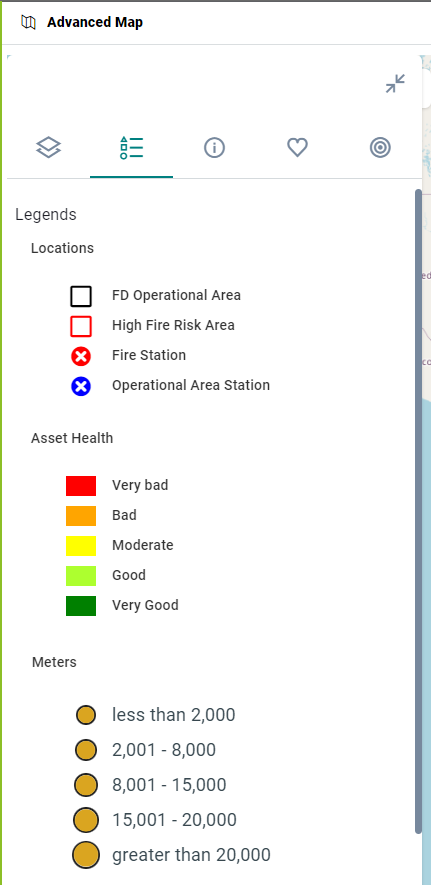
Legends tab - a list of Legend items for active Map Layers (if configured). Each active Map Layer can show one or more legend items representing the visual aspect of that Map Layer on the Map.
-
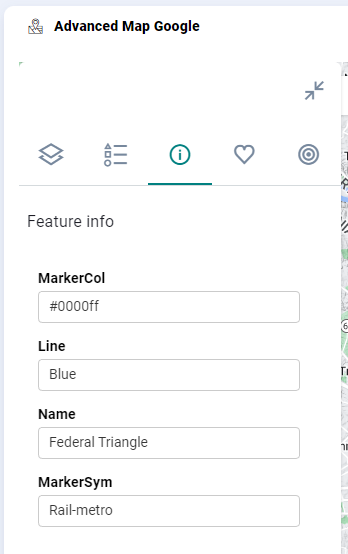
Feature Info tab - when selecting a Map Feature using the Feature Info tool, the associated attribute fields for the selected Map Feature shows on this tab.
-
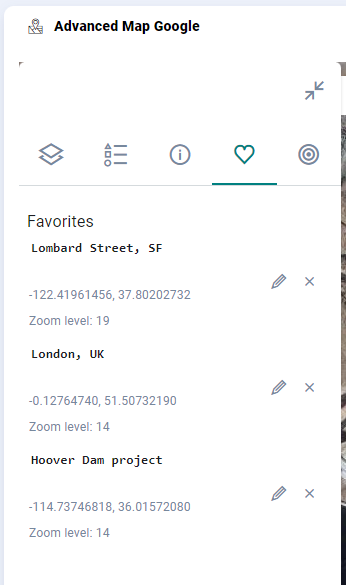
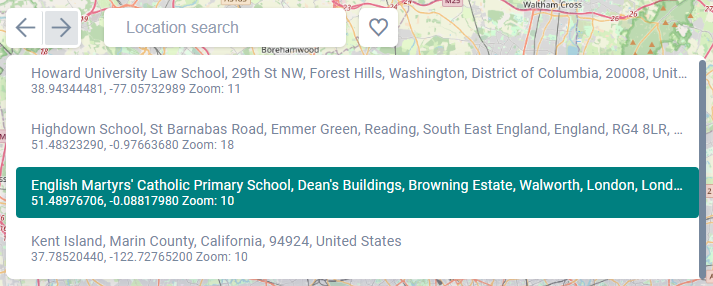
Favorites tab - all Map views that have been added as a Favorite will show on this tab with it’s friendly name, the coordinates for the center of the Map view and it’s zoom level.
-
User actions include:
-
Edit - edits the friendly name
-
Delete - deletes the Favorite
-
-
-
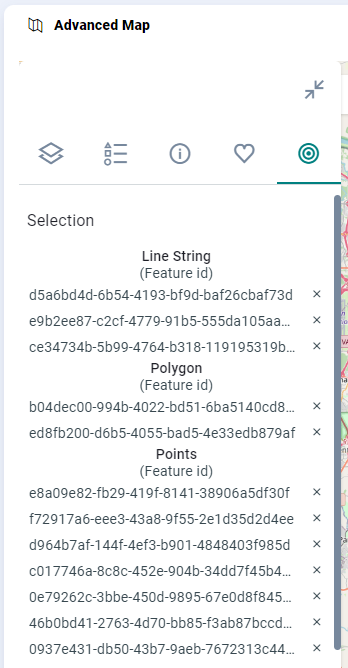
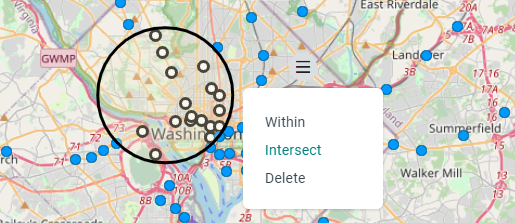
Selections tab - selected Map Features will show as a list per Map Layer.
-
User actions include:
-
Click an entry - shows the Feature Info for the item clicked.
-
Delete - deletes the selected item from Selection list.
-
-
Tools menu
-
Show/Hide Tools - click the Tools icon to show toolbar with Tool icons, including:
|
Tools |
Descriptions |
|---|---|

|
|

Other Tools on Map Canvas
-
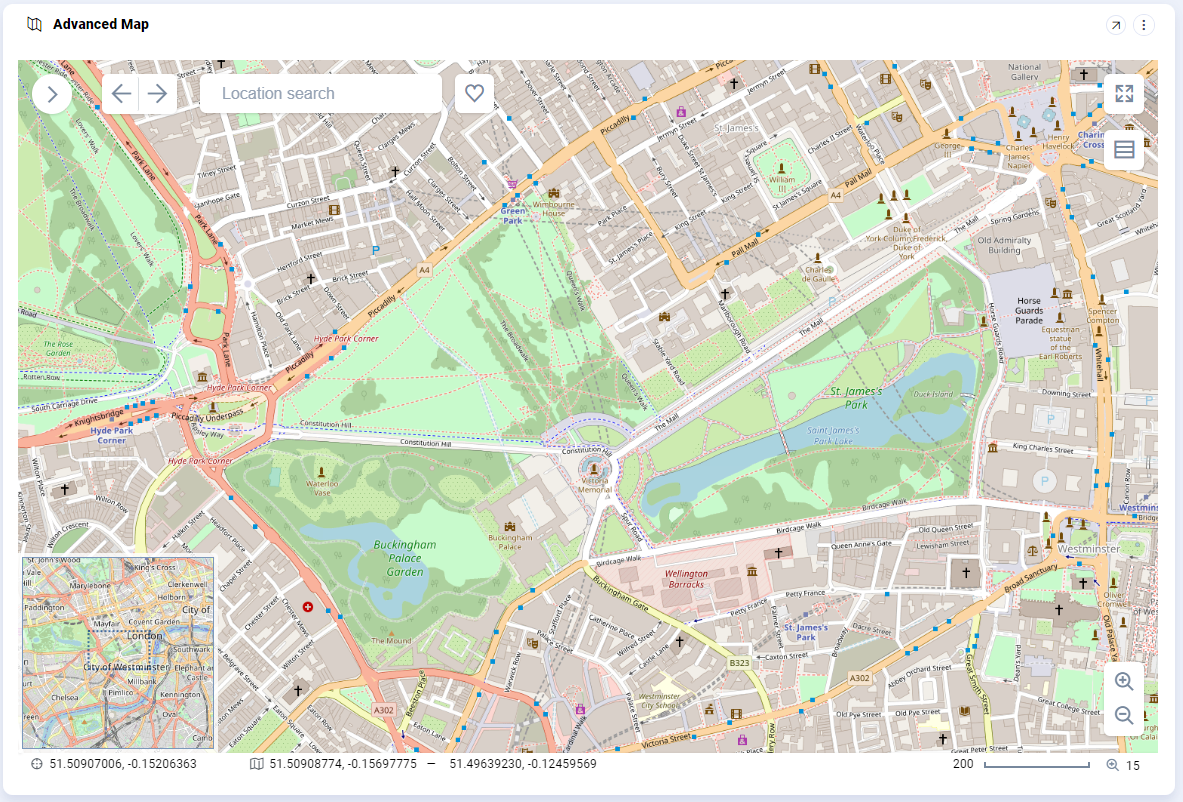
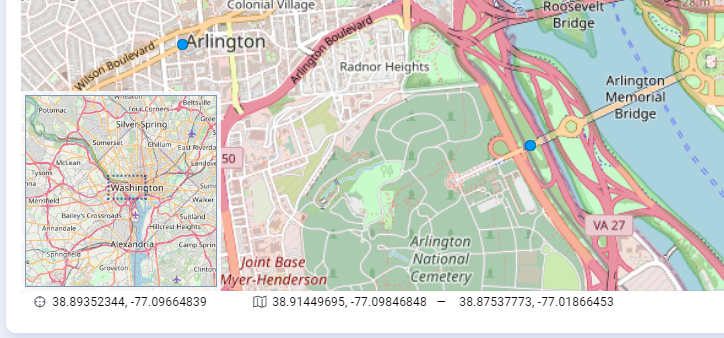
Previous/Next - moves to the previous/next Map view. All Map views are kept in a history list allowing user to move back and forth in all Map views on the list.
-
Search - allows user to enter:
-
a specific address - eg. 6111 Bollinger Canyon Road San Ramon CA 94583
-
a region name - eg. California
-
a post/zipcode - eg. CA 94583
-
a specific GPS coordinate - eg. 37.75910861, -121.95542164
-
-
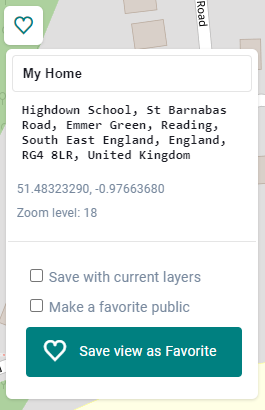
Add to Favorite - click the “heart” icon to save the current Map view as a Favorite allowing user to get back to a specific location and zoom level. The Favorite can be given a friendly name and user has options to …
-
Save with current layers - ie. any enabled/active layer on Map.
-
Make a favorite public - ie. shared with other users.
-
-
All saved Favorites can be retrieved from the Favorites tab in the Sidebar. Favorites are retrieved based on saved position, zoom level, and will make any map layers enabled/visible again that were active (if option enabled during save).
-
Show/Hide Full Screen - click the icon to expand the Advanced Map Application to full screen view. Click the icon again (or click Esc key) to exit full screen view again.
-
Zoom In/Out - click the “+” or “-” icons in bottom/right corner of Map view to zoom in/out - one zoom level at a time. Alternatively, scroll the mouse-wheel forward/backward to zoom in/out by 1/3 of a zoom level.
Annotating Map Features
-
See Annotating Data.
Contact App Orchid | Disclaimer