Intended audience: end-users developers
AO Platform: 4.5
Overview
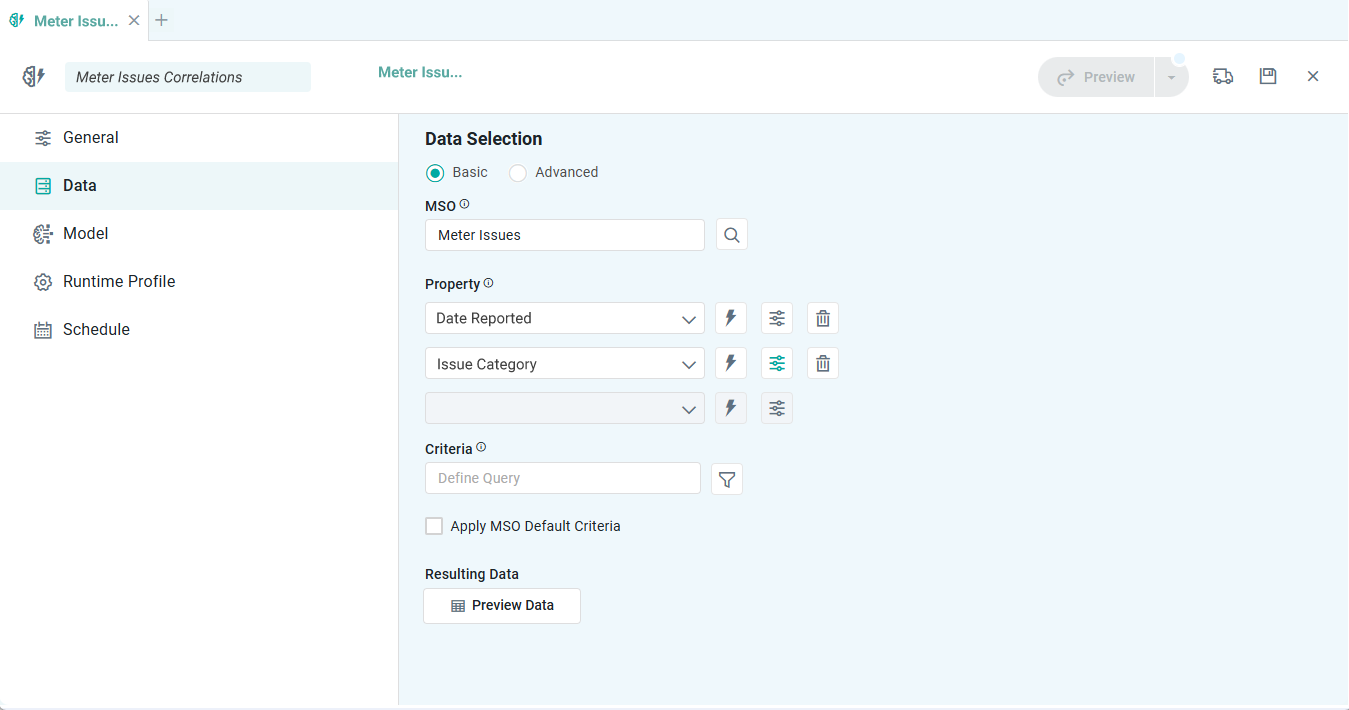
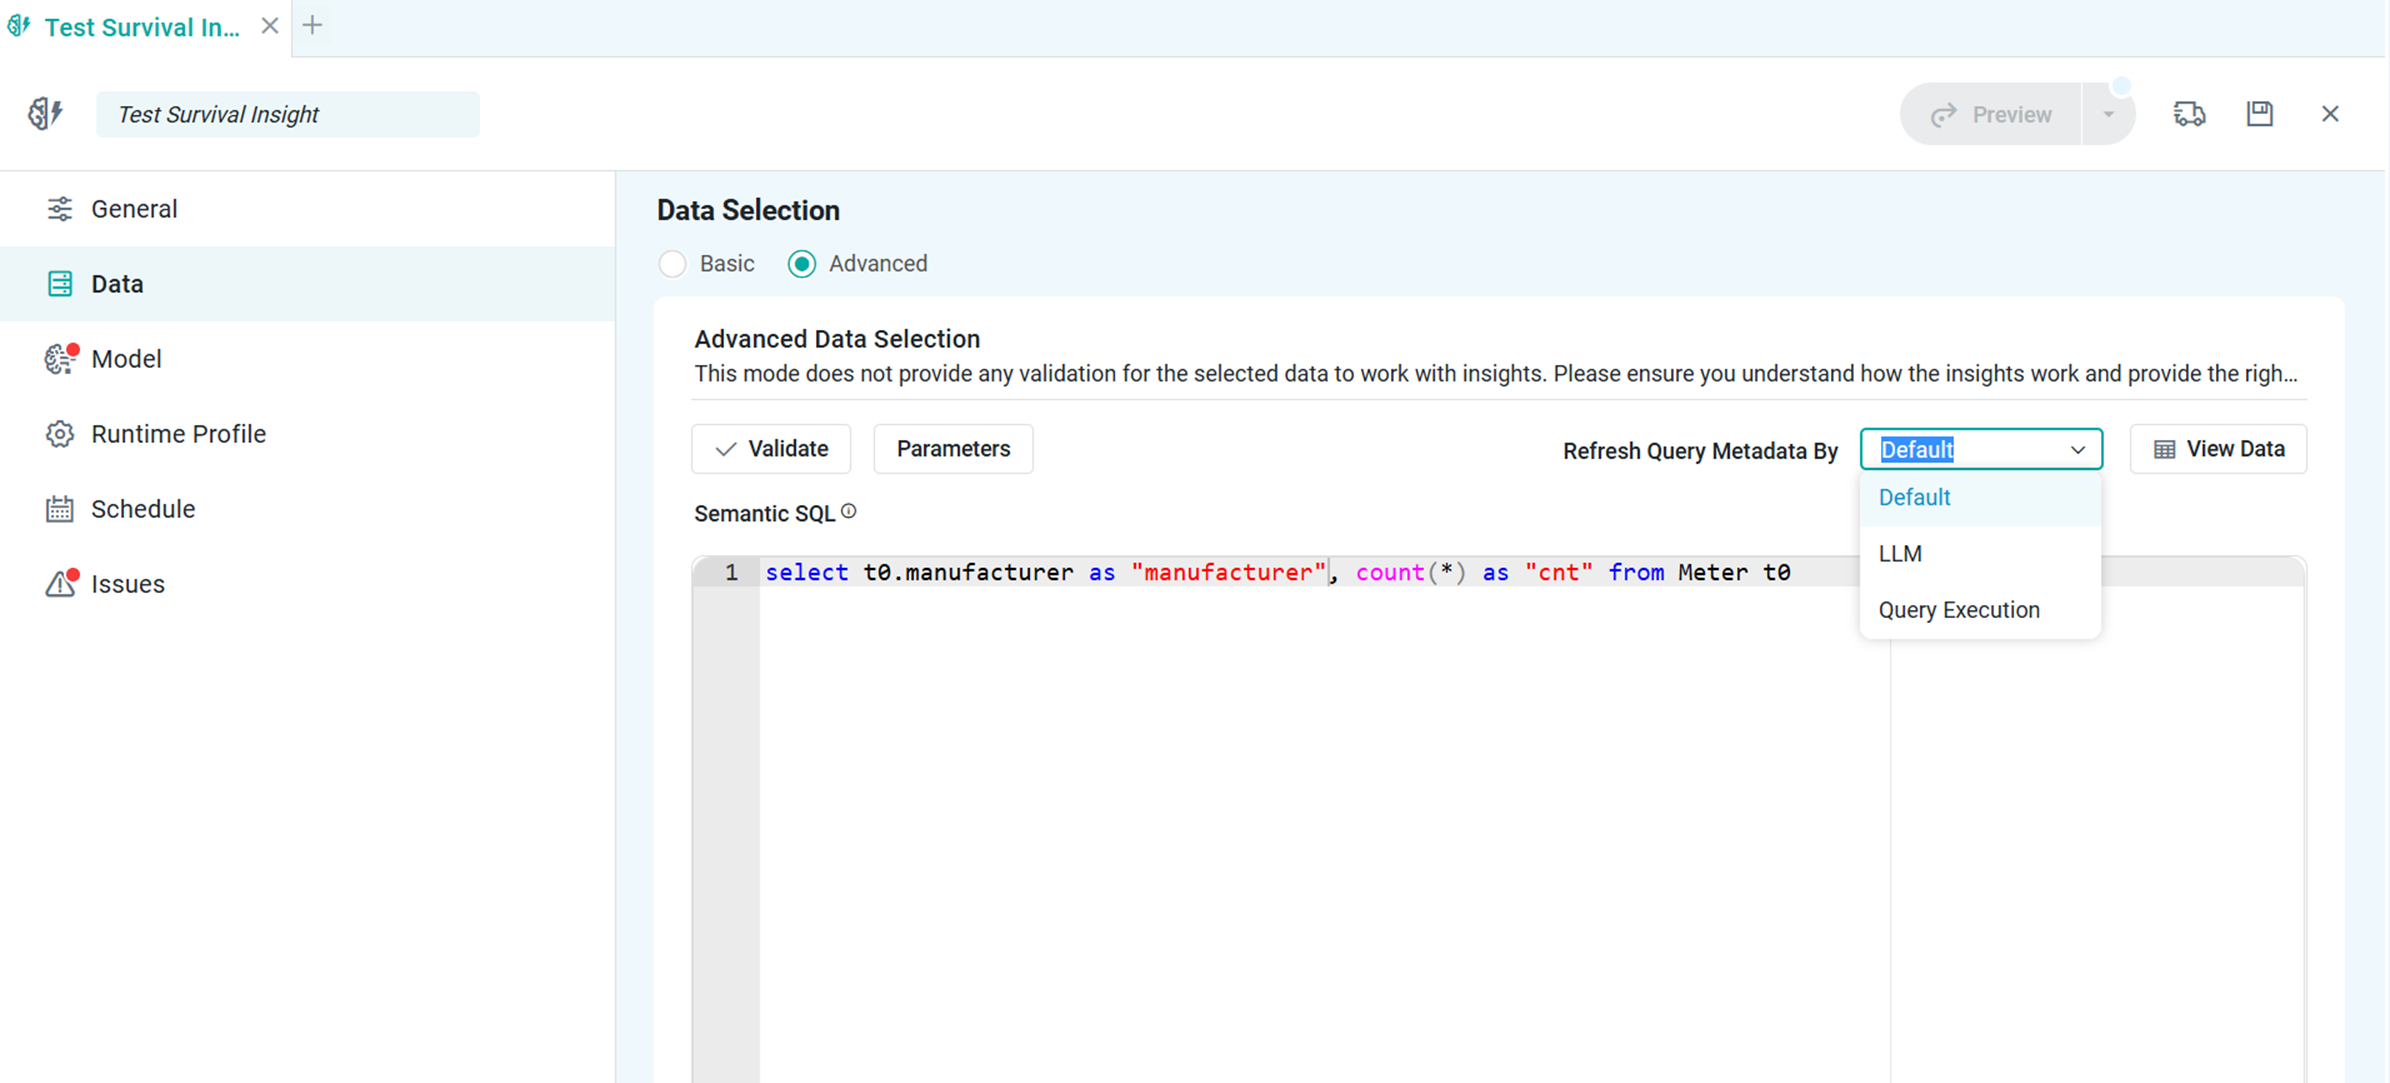
On the Data page, select the data from which the Insight will be generated. Data can either be selected from an MSO and its Properties using the configurations when selecting the Basic radio button, or by using an Ontology Query for more advanced data selection and when selecting the Advanced radio button.
|
Basic tab |
Advanced tab |
|---|---|
|
|
Properties
|
Label |
UI |
Default |
Description |
|---|---|---|---|
|
Basic tab |
|
|
|
|
Text Field w/Search icon |
|
Opens a Search dialog to select an MSO for the data used by this Insight. |
|
Dropdown w/Expression, Property, and Delete buttons |
|
Dropdown to select the fields of the MSO selected above with their associated aggregation options, such as sum, avg, min, max, count, count distinct… |
|
Text Field w/Query Builder icon |
|
Select the “funnel” icon to open the Query Builder dialog to construct the filter for the data selection, eg, Material = Steel, State IN [California, Texas, Florida], Temperature > 100 |
|
Checkbox |
Unchecked |
If enabled, it will also add the MSO Default Criteria to the Insights-specific Criteria property. |
|
Button |
|
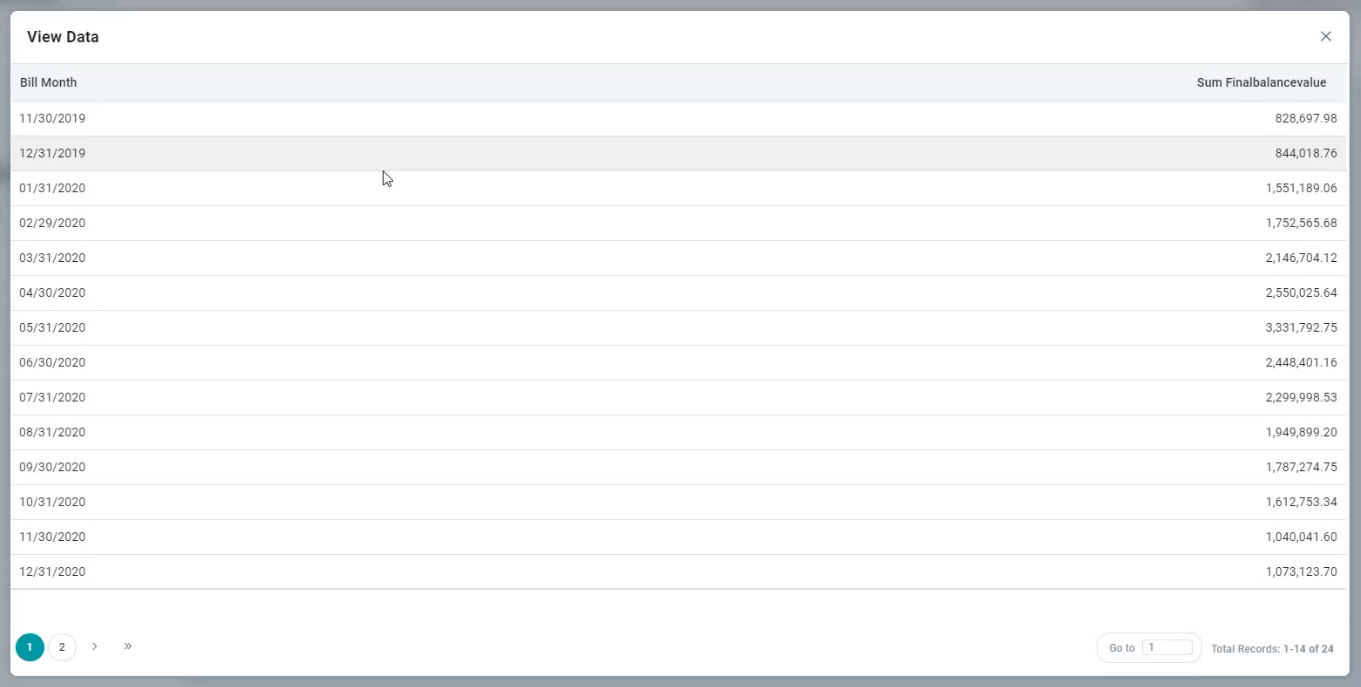
Once the data has been selected, click the Preview Data button to open a pop-up dialog showing the selected data for validation - see below. |
|
Advanced tab |
|
|
|
|
Button |
|
Click to validate the Semantic SQL for syntax errors. |
|
Button |
|
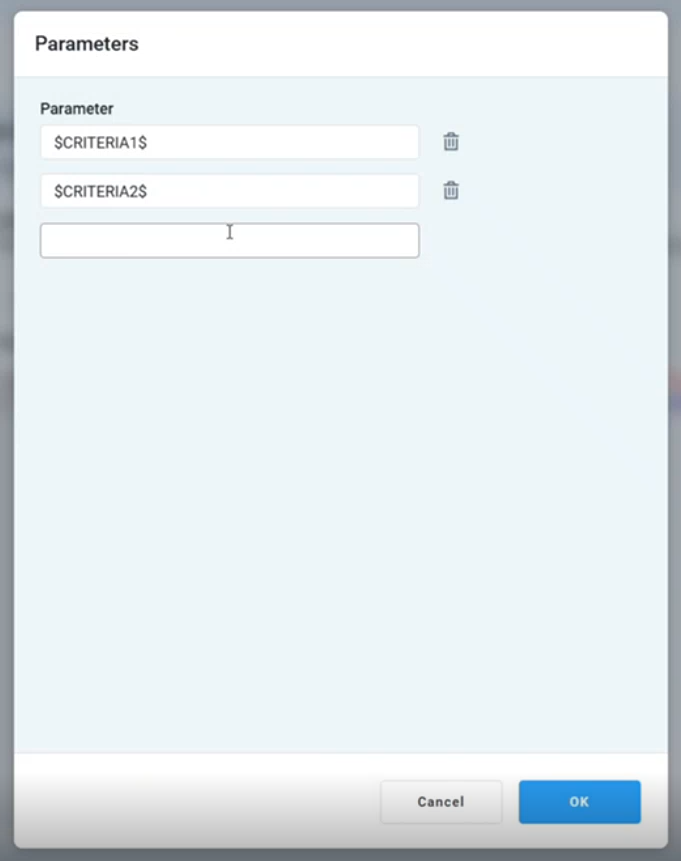
Click to add one or more $CRITERIA#$ entries for the similar entries made in the Semantic SQL. |
|
Dropdown |
Default |
Select from Default, LLM, or Query Execution. |
|
Button |
|
Click to view the data produced by the Semantic SQL. |
|
Multi-Line Text Field |
|
Enter (or paste) the Semantic SQL directly into the field, then click the Validate button to ensure it’s correct. |
Preview Data
Parameters Dialog when using Advanced > Semantic SQL
All $CRITERIA#$ parameters need to be declared in the Parameters dialog. The same parameters will then be available on the Runtime Profile page allowing the user to add the value configuration for the parameters to be used as Filters for the Runtime Profiles created. See Quick Insights - Runtime Profiles.
Contact App Orchid | Disclaimer